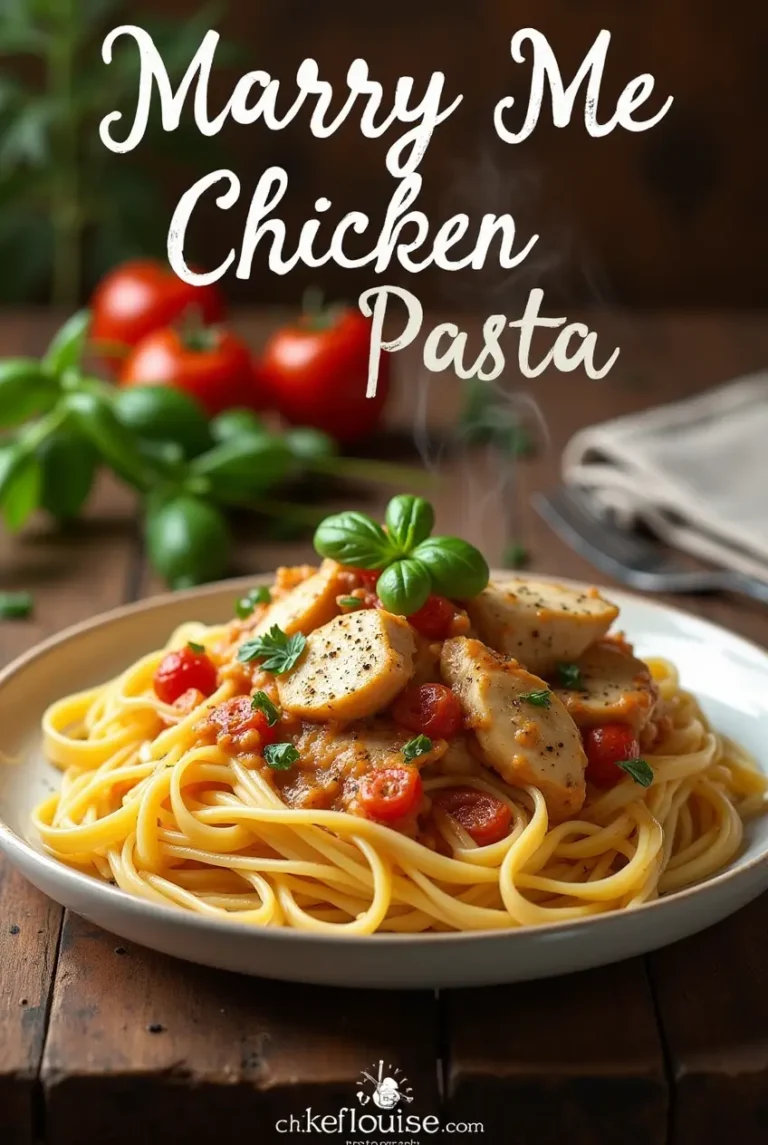
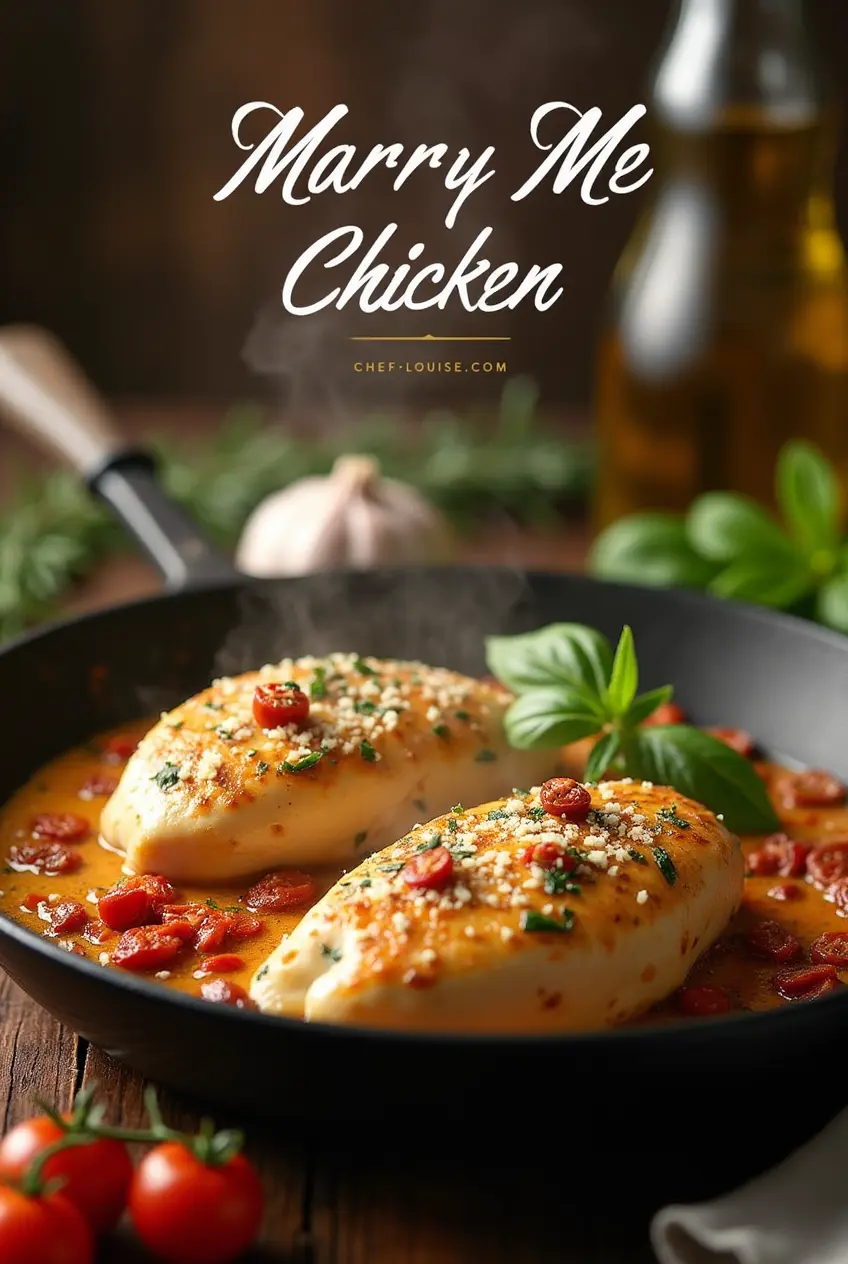
Marry Me Chicken How to Impress Your Guests with This Easy 4-Ingredient Dish
Have you ever wondered why some dishes get rave reviews while others fall flat? Is it the fancy plating, expensive ingredients, or just pure luck? The truth is, sometimes the simplest recipes can make the biggest impact. Take “Marry Me Chicken,” for example—a dish so delicious and easy to prepare that your guests might just propose (to the chef, not the chicken). Sound too good to be true? Keep reading, and we’ll show you how this 4-ingredient wonder works its magic.
Table of Contents
Overview
“Marry Me Chicken” is more than just a catchy name—it’s a recipe designed to impress without overwhelming you in the kitchen. Here’s what makes it special:
- Time Requirement : Prep takes about 15 minutes, and cooking lasts around 30–40 minutes. That’s less than an hour of effort!
- Difficulty Level : Beginner-friendly. No fancy techniques or complicated steps here—just straightforward cooking.
- Why It Stands Out : With only four key ingredients, this dish delivers bold flavors, juicy texture, and restaurant-quality results. Plus, it’s versatile enough to fit any occasion, from date nights to family dinners.
Ready to learn the secrets behind this crowd-pleaser? Let’s dive in!
Essential Ingredients
Here are the star players in our “Marry Me Chicken” recipe:
- Boneless, Skinless Chicken Breasts – These are lean, tender, and absorb flavor beautifully. You can also use thighs if you prefer darker meat.
- Butter – Adds richness and helps caramelize the chicken for added depth. Substitute with olive oil for a healthier option.
- Garlic Powder – A hint of garlic enhances the savory notes without overpowering the dish. Fresh minced garlic works too!
- Lemon Juice & Zest – Lemon brightens the flavors and keeps the chicken moist. If lemons aren’t available, try white wine vinegar as a substitute.
Why These Ingredients Matter
Each ingredient plays a crucial role in creating a harmonious balance of flavors. Chicken provides the base protein, butter ensures juiciness, garlic adds warmth, and lemon brings freshness. Together, they create a symphony of taste that will leave your guests asking for seconds.
Step-by-Step Instructions
Let’s break down the process into simple, manageable steps:
Step 1: Gather Your Tools
You’ll need:
- A large skillet (preferably non-stick)
- Tongs or a spatula
- A cutting board and knife (optional, if zesting lemon by hand)
Step 2: Prepare the Chicken
- Pat the chicken breasts dry with paper towels. This step removes excess moisture, helping them brown evenly.
- Season both sides generously with salt, pepper, and garlic powder. Don’t skimp on seasoning—it’s key to flavor!
Step 3: Cook the Chicken
- Heat 2 tablespoons of butter in the skillet over medium-high heat until melted and bubbly.
- Add the chicken breasts to the pan, ensuring they don’t overcrowd. Leave space between each piece for proper browning.
- Sear the chicken for 6–7 minutes per side, or until golden brown and cooked through. Use a meat thermometer to check internal temperature (165°F/74°C).
Step 4: Deglaze the Pan
- Once the chicken is done, remove it from the skillet and set aside.
- In the same pan, squeeze fresh lemon juice and add lemon zest. Stir gently to scrape up any browned bits from the bottom of the pan. These bits, called fond, contain concentrated flavor.
Step 5: Finish with Flavor
- Return the chicken to the skillet, spooning the lemon-butter sauce over the top. Let it simmer briefly to absorb all those amazing flavors.
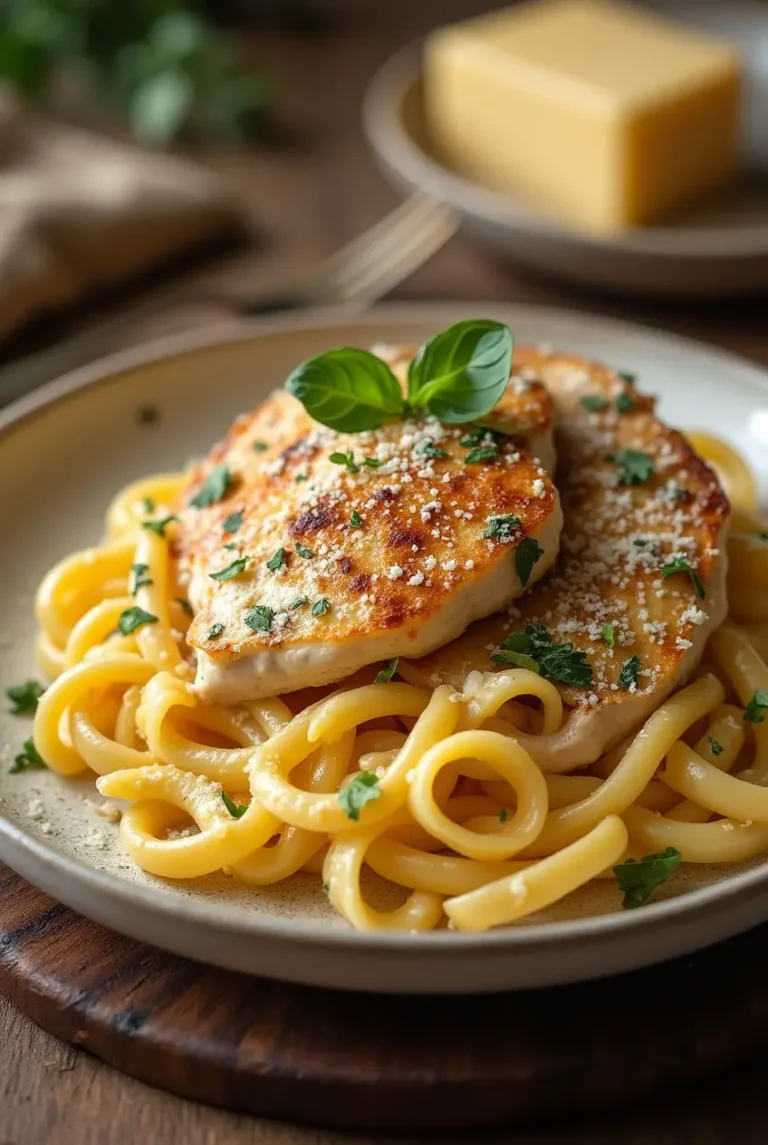
Assembly
Now comes the fun part—putting it all together!
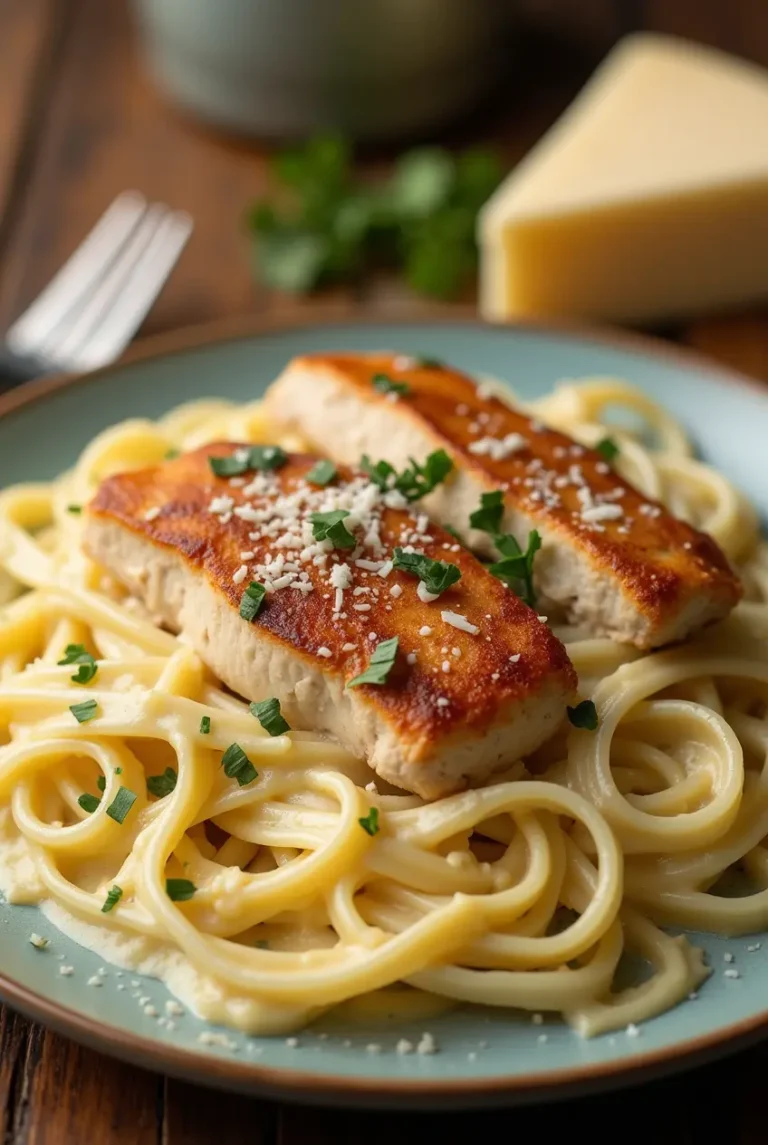
- Place the chicken on a serving plate.
- Drizzle the lemon-butter sauce generously over the top.
- Garnish with fresh parsley or thyme leaves for a pop of color.
For presentation tips:
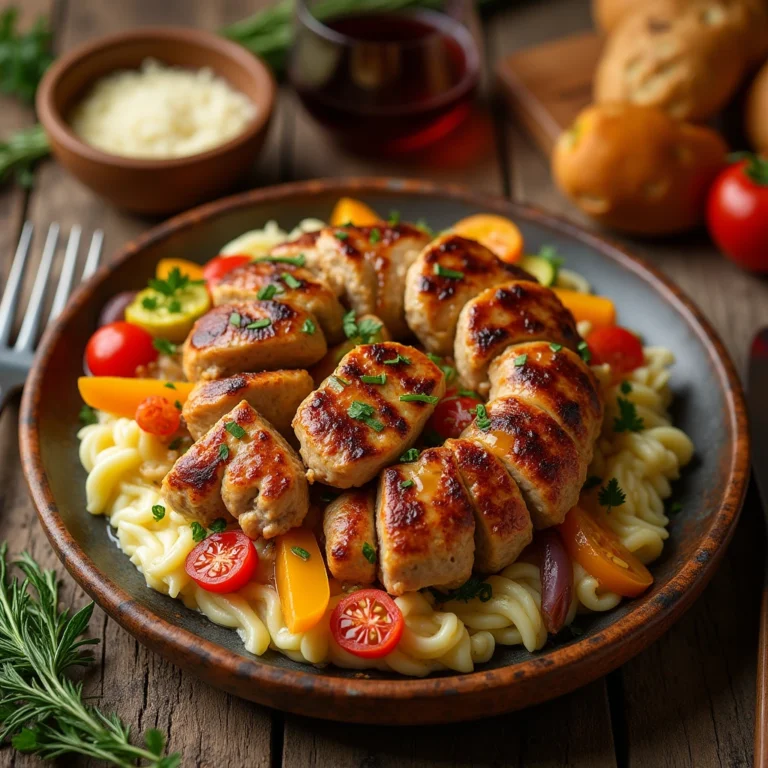
- Slice the chicken diagonally before serving to showcase its tenderness.
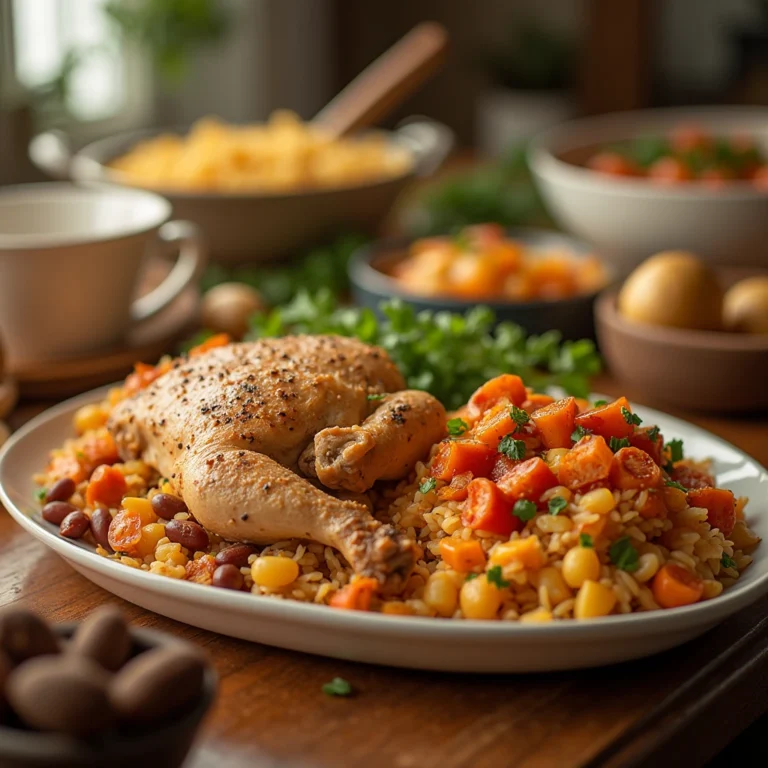
- Pair with sides like roasted vegetables, mashed potatoes, or quinoa for a complete meal.
Storage and Make-Ahead Tips
Storing Leftovers
- Store cooked chicken in an airtight container in the refrigerator for up to 3 days.
- Reheat in the microwave or oven at 350°F (175°C) until warmed through. For best results, cover with foil to prevent drying out.
Prepping Ahead
- Marinate the chicken ahead of time by rubbing it with spices and letting it rest in the fridge for up to 8 hours.
- Prepare the lemon-butter sauce separately and store it in a jar for quick assembly later.
Recipe Variations
Feel free to experiment with these creative twists:
- Herb-Crusted Version : Coat the chicken in breadcrumbs mixed with dried herbs like oregano, basil, or rosemary before cooking.
- Spicy Kick : Add red pepper flakes or cayenne powder to the seasoning blend for a fiery twist.
- Creamy Sauce : Whisk in heavy cream or Greek yogurt after deglazing the pan for a rich finish.
- Grilled Option : Grill the chicken instead of pan-searing for smoky charred edges.
Conclusion
There you have it—the secret to making unforgettable “Marry Me Chicken.” Whether you’re hosting a dinner party or craving something comforting, this recipe delivers every time. Its simplicity, flavor, and versatility make it a go-to choice for busy cooks and culinary enthusiasts alike. So roll up your sleeves, grab your skillet, and let the compliments roll in. Happy cooking!
FAQs
Q: Can I use chicken thighs instead of breasts?
A: Absolutely! Chicken thighs are juicier and more forgiving during cooking. Just adjust the cooking time slightly since they take longer to cook through.
Q: Is this recipe healthy?
A: Yes! Boneless, skinless chicken breasts are low in fat and high in protein. Using butter sparingly and adding lemon keeps the dish light yet satisfying.
Q: Can I freeze leftover chicken?
A: While freezing is possible, the texture may become less desirable upon thawing. It’s better to enjoy leftovers within a few days for optimal freshness.
Q: What side dishes pair well with Marry Me Chicken?
A: Try pairing it with seasonal veggies, creamy polenta, or a crisp salad for balanced nutrition and flavor.