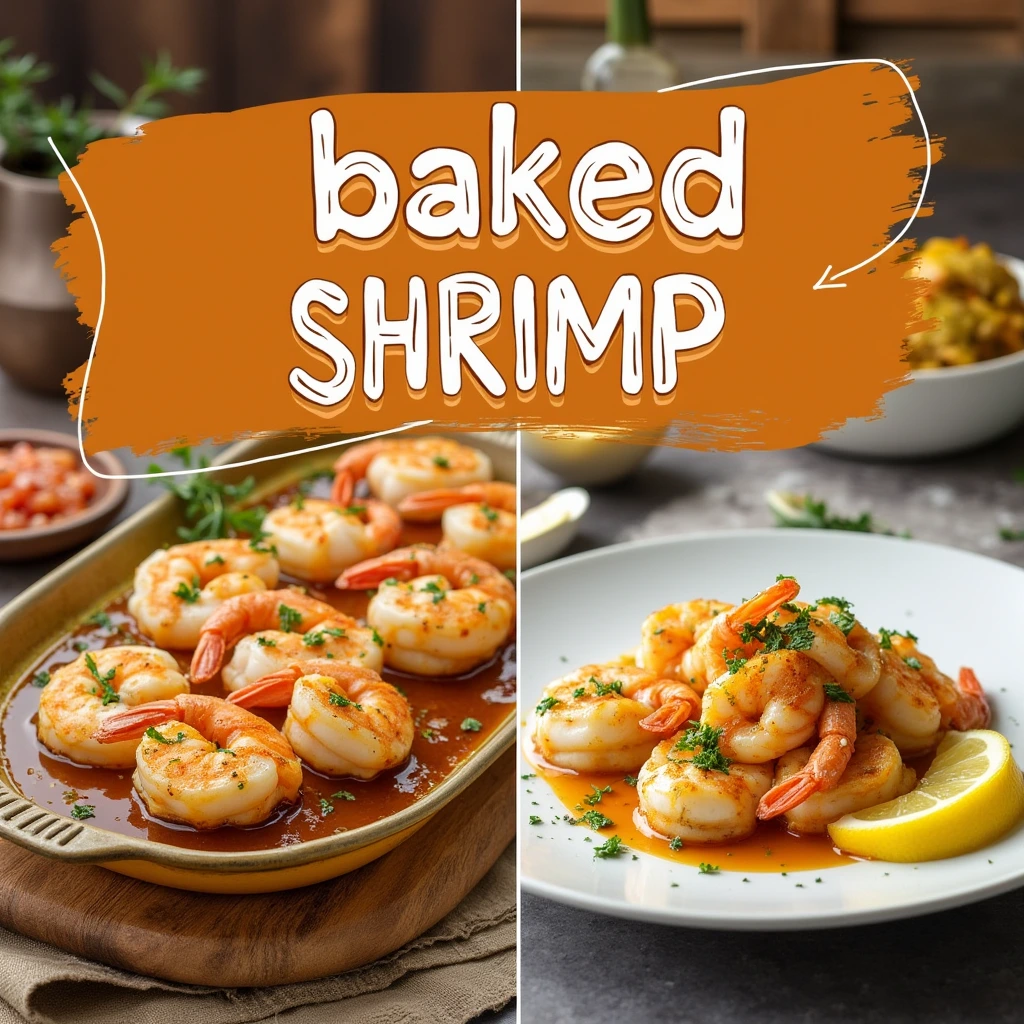
Baked shrimp: How to Make 5-Minute Dinner Magic!
1. Engaging Introduction
Ever wish dinner could be ready in minutes without sacrificing flavor? Imagine this: You’re craving something tasty after a long day, but you don’t want to spend hours in the kitchen. What if we told you that baked shrimp could be on your plate in just 5 minutes of prep time—and still taste like a restaurant favorite? Keep reading to discover the secret to this quick, easy, and magical recipe that’s perfect for busy weeknights!
Table of Contents
2. Overview
Baked shrimp isn’t just a meal—it’s a miracle for busy cooks! This recipe is super simple , takes only 5 minutes to prepare , and is ready in under 15 minutes total. Perfect for:
- Quick dinners
- Healthy snacks
- Casual parties
- Meal prep
No fancy skills needed! Even if you’re new to cooking shrimp, this recipe is easy as 1-2-3 .
3. Essential Ingredients
Here’s what you’ll need:
Key Components
- Shrimp : Fresh or frozen (thawed and patted dry). Why? Shrimp is high in protein and low in fat, making it a healthy choice.
- Olive oil or butter : Adds flavor and helps the shrimp cook evenly.
- Seasonings : Salt, pepper, garlic powder, paprika. Why? These spices make the shrimp taste like it’s been “fancy” cooked!
- Optional extras : Lemon wedges, hot sauce, or herbs like parsley.
Substitutions & Variations
- Swap butter for olive oil for a lighter version.
- Use cumin or chili powder for a Mexican twist.
- Try lemon zest instead of garlic powder for a citrus kick.
4. Step-by-Step Instructions
Ready in 15 minutes? Let’s go!
- Prep the shrimp :
- Thaw frozen shrimp (if needed) by running under cold water for 5 minutes.
- Pat them dry with a paper towel (this helps them brown better!).
- Mix the seasoning :
- In a bowl, toss shrimp with olive oil, salt, pepper, garlic powder, and paprika. Pro tip : Use your hands to coat them evenly—it’s fun!
- Bake :
- Spread shrimp in a single layer on a baking sheet.
- Bake at 425°F (220°C) for 8-10 minutes (until pink and curled).
- Serve :
- Squeeze lemon juice over top (if using).
- Enjoy with bread, rice, or salad!
5. Assembly & Presentation
Make it look pretty!
- Serve on a colorful plate : Add a sprinkle of parsley or green onions.
- Pair with sides : Try with a simple salad, garlic bread, or quinoa.
- For parties : Arrange shrimp on a platter with toothpicks for easy snacking.
6. Storage & Make-Ahead Tips
Keep it fresh!
- Storage : Let shrimp cool, then store in an airtight container for up to 3 days in the fridge.
- Reheat : Warm in the oven (350°F for 5 minutes) or microwave (30 seconds).
- Make-ahead : Prep seasonings in a bowl ahead of time. Just toss and bake!
7. Recipe Variations
Get creative! Here are 3 fun twists :
- Garlic Butter Shrimp : Melt butter with minced garlic and drizzle over shrimp before baking.
- Jalapeño Popper Shrimp : Mix shredded cheddar, cream cheese, and diced jalapeños with shrimp before baking.
- Teriyaki Shrimp : Use soy sauce, honey, and sesame oil as a marinade instead of spices.
8. Conclusion
Baked shrimp is your new go-to for quick, tasty meals. Whether you’re cooking for one or a crowd, this recipe is versatile , easy , and delicious . Don’t be shy—experiment with your favorite flavors and share the magic with friends!
9. FAQs
Q: Is baked shrimp healthy?
A: Yes! Shrimp is low in calories and high in protein. Pair with veggies for a balanced meal!
Q: Can I use frozen shrimp?
A: Absolutely! Just thaw and pat dry first.
Q: How do I know when shrimp is done?
A: It turns pink and becomes firm. Avoid overcooking—it’ll get rubbery!
Q: Can I add veggies?
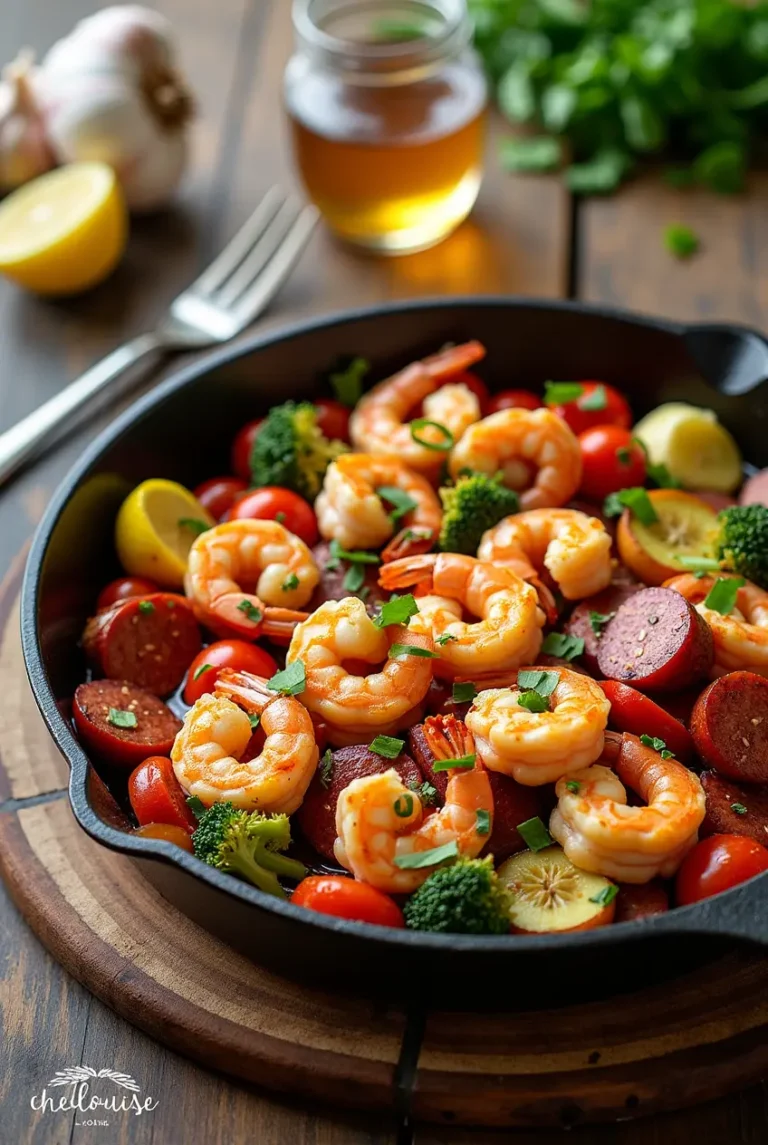
A: Sure! Try bell peppers or zucchini in the same baking sheet.
Q: Is this recipe gluten-free?
A: Yes! Just use gluten-free seasonings.

